May 19, 2014 by Ian Toner, Sion "Brummie" Scone, Sean Childers and Kahyee Fong in Analysis, Video with 23 comments
As the top college teams prepare to descend on Cincinnati for the College Championships, Ultiworld sat down with the season’s footage to identify some of the zone defenses most likely to impact the tournament. Though the weather forecast currently shows relatively favorable conditions for Nationals — zone defense might not be the number one storyline at the tournament — most top teams throw junk sets, even in pleasant weather, to mix up their looks.
Whether it is a 4 man cup, a loose handler poach in the lanes, or a zone “diamond” in the middle of the field, offenses in Cincinnati will need to show patience and composure if they want to stay in control.
I. Pittsburgh 4 Man Cup
One of the classic zone defenses — especially in the college game — is the four-man cup. Pittsburgh uses an especially aggressive version to try and control space and force their opponents to attack from trapped areas. If there is any wind at all in Cincinnati this weekend, expect to see lots of this cup.
1. Basic Formation (Pittsburgh in blue)
2. Positioning Overview
- 1 dedicated chase, who applies the mark (except in a sideline trap variant, see below)
- 3 (additional, for a total of 4) man cup, angled to give open side, short ranged throws. The aim really is to achieve the sideline trap
- 2 wings, sat behind the cup both of whom aim to push as far into the center of the field as possible when the cup is set, and when the cup is not set they aim to minimize down field yardage
- 1 deep defender, responsible for guarding the huck
3. How (and Why) It Works
This zone puts a lot of players near the disc, and funnels the offense into tighter and tighter spaces. The result is that the offense becomes concerned about being trapped, and begins to take rushed, panicky throws. You can see a couple of turns due to miscommunication below, both as a result of the excellent movement of Christian Pitts.
https://www.youtube.com/watch?v=Hd_Qs2eH7NU
Not only does this zone place lots of defenders near the disc, it also aims to narrow the field by keeping the offense to half of the field width. You can see Pittsburgh really trying to keep Michigan in one half of the field, epitomized by the double layout bid in one of the clips below. (Note that Trent Dillon actually starts the point as a wing on the closed side, but because Michigan throw so many players near the disc — 5 handlers at one point — he effectively becomes part of an extended cup). A similar story occurs later in the game, with Pittsburgh still aiming to keep Michigan in one half of the field.
https://www.youtube.com/watch?v=4N2gMxycbvQ
The first player in the cup (the one positioned perpendicular to the direction of play, to prevent the IO channel) plays very loosely, going in tight to prevent crashes and sagging off otherwise to make throws through the cup more difficult. Christian Pitts plays loose at some pints, yet comes in tight to get a block as he reads the handler crash. His ranging movement adds a dynamic element to an otherwise static formation; in one of the clips above, Pitts pushes in to threaten the crash, then automatically drops off without looking behind him when that threat disappears. This shows a well-drilled defender who knows the main threat is allowing the disc outside the cup.
The middle player in the cup is relatively static, providing a big barrier to downfield throws, while the third player in the cup is also largely static but has occasional license to make bids on handler movement. The combination of a well known cup defense with some unpredictable elements makes this zone uncomfortable to play against; you can see that many of the Michigan players catch the disc, pump fake, then want to get rid of it as quickly as possible.
The touch of wind and rain that makes overheads more challenging really adds teeth to this zone by forcing the offense to either stick to flat throws in tight spaces, or be prepared to risk overheads or curving throws that are more susceptible to wind.
4. How to Beat It
This zone really is an “all your eggs in one basket” defense. It hinges on the principle of trapping your target against the sideline. If you’re unable to do that, then you’re likely to lose.
As well as being extremely vulnerable to overhead throws, the key to breaking the disc out of the cup is to maintain a player in position to catch a dump and throw the crossfield – and typically upwind – swing immediately. Due to the nature of the cup, you’ll want to position that dump far enough behind the disc that even a bidding defender cannot prevent the swing. Typically this means losing some yards in order to give your team the angles and space required to attack another area of the field.
Once the disc is on the upwind sideline, rather than throwing back towards the cup, the emphasis should be on overloading the wing defender by having two offensive players attack space where either can receive the next pass, but where a single defender cannot guard them both. One way to do this is to have one player hugging the sideline, and the other moving aggressively into the middle of the field; both players need to make sure that they are close enough to the disc to make the pass simple. This means that after the disc is swung away from the trap sideline, the player holding the disc should look up to see two options; one that is back towards the middle of the field but – crucially – behind the cup, the other even further towards the furthest sideline from the trap. This forces the wing defender to choose whether to allow the disc behind the cup (where it can quickly move anywhere on the field), or risk having the disc go down the sideline furthest from the cup, i.e. furthest from the bulk of the defenders.
Once out of the cup, the objective of the offense should be to keep the disc moving and prevent the disc becoming trapped again. Michigan do a great job of using the number mismatch to their advantage on several occasions, as shown in the clip below.
https://www.youtube.com/watch?v=AE4_ILRMJ6A
Pittsburgh would have more success in these situations by ignoring the fact that they are in a zone, and just playing tight man to slow down the offense and give the cup a chance to recover. In order to maximize the possibility of having this mismatch, you should aim to play against this zone with 3 handlers (2 handlers does not afford you an easy throw when in the trap, and you want to guarantee the dump-swing). This leaves you 4 players downfield with which to overload the defense, although it should be emphasized that these downfield offensive players need to constantly threaten the space behind the cup in order to keep that cup honest.
II. Michigan 2-3-2 Box
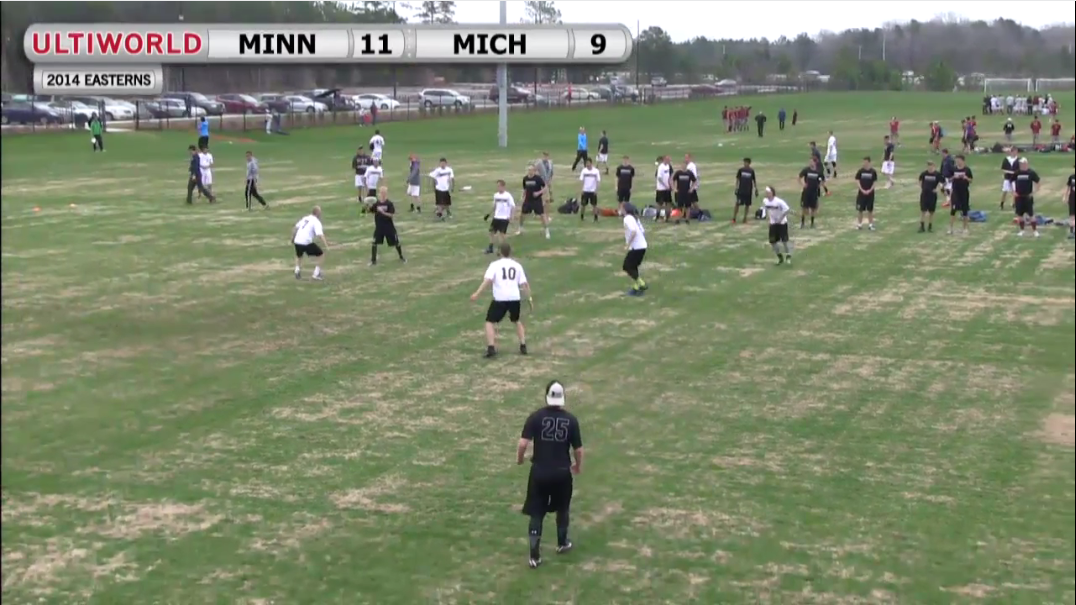
In one Easterns semifinal, Michigan’s “2-3-2 Box” zone brought Magnum back into the game against Minnesota. In six points that started with Magnum utilizing this zone look, Minnesota errors resulted in five turnovers that Magnum converted for breaks. We’ll focus more on the dynamics of the zone than Minnesota’s errors against it.
1. Basic Formation (Michigan In White)
2. Positioning Overview
- Two chasers work in tandem to maintain a middle force on the primary handlers
- Chasers mark the thrower and force side dump tightly
- A three-man wall (five to fifteen yards away) provides the next line of defense with the leeway to collapse and form a five-man box within 15 yards of the thrower
- The two remaining defenders split the deep space in half
3. How (and Why) It Works
The key to this zone is the combination of the middle force and the tight guarding of the force side dump. Unlike other trap cups that leave free resets on the force side, there’s no easy reset (save for the occasional uncontested crash). It’s also tougher to swing the disc back and forth and tire out the chasers – to do so, one needs to repeatedly break the mark or throw tougher, riskier throws out to the fringes of the force side.
The middle and break side wall members face-guard against downfield cutters entering their space, and the force side wall member stays close enough to protect against crashes from the back.
In conjunction, these five defenders form a box around the thrower that fluctuates in tightness – wall members can pinch in to the periphery of the three-meter mark as circumstances shift. Other three- and four-man cups keep eyes on the thrower (and trust mids and wings to keep heads on swivels). But when this formation is at its best, the wall members rely on face guarding in their areas more than many other zone sets.
4. How to Beat It
Many of the principles from our zone-breaking article apply here, but we’ll focus on one particular tactic that can provide two options through one movement: the straight-back/behind dump.
Straight-back/behind dumps can give zone handlers brief, unobstructed windows to the break side – a benefit in itself. What’s more, against this zone, the force side handler making this cut will drag his defender with him and open up a shallow lane out wide on the force side. The aggressiveness of the chasers and the relative distance of the wall make this window a fleeting but manageable one.
https://www.youtube.com/watch?v=aSpxeqZYAZo
There’s another way to open up this window and take advantage of the aggressiveness of the chasers: keep the force-side dump very wide. If the other chaser stays out wide with the dump, then that force-side window becomes slightly tighter but still threatening. If the chaser stays closer to the thrower, then it’s easier to swing the disc back and forth between the handlers and tire out the zone. See how the chaser overcommits to the swing and lets off the upfield gainer here:
Opening up these lanes and swinging do not combine to form a magic solution. The receivers need to understand where to turn to find the most threatening continuations. And skillfully timed and placed over-the-top throws can make life easier on the rest of the offense. But opening these wide force lanes and utilizing these swings provide the first-throw opportunities that offenses need to build confidence and generate flow against the zone.
Catching crashes in the middle of the box puts throwers in a dangerous position and forces the box on its heels. These crashes are harder to defend when they sneak in from the break side and this zone places less emphasis on guarding them. If chasers or wall members get greedy in defending this break-side cut, then they’ll reveal holes upfield for the thrower to exploit.
[youtube F554jkHdGAM 600 337]
III. UNCW 2-4-1 “Diamond” Zone
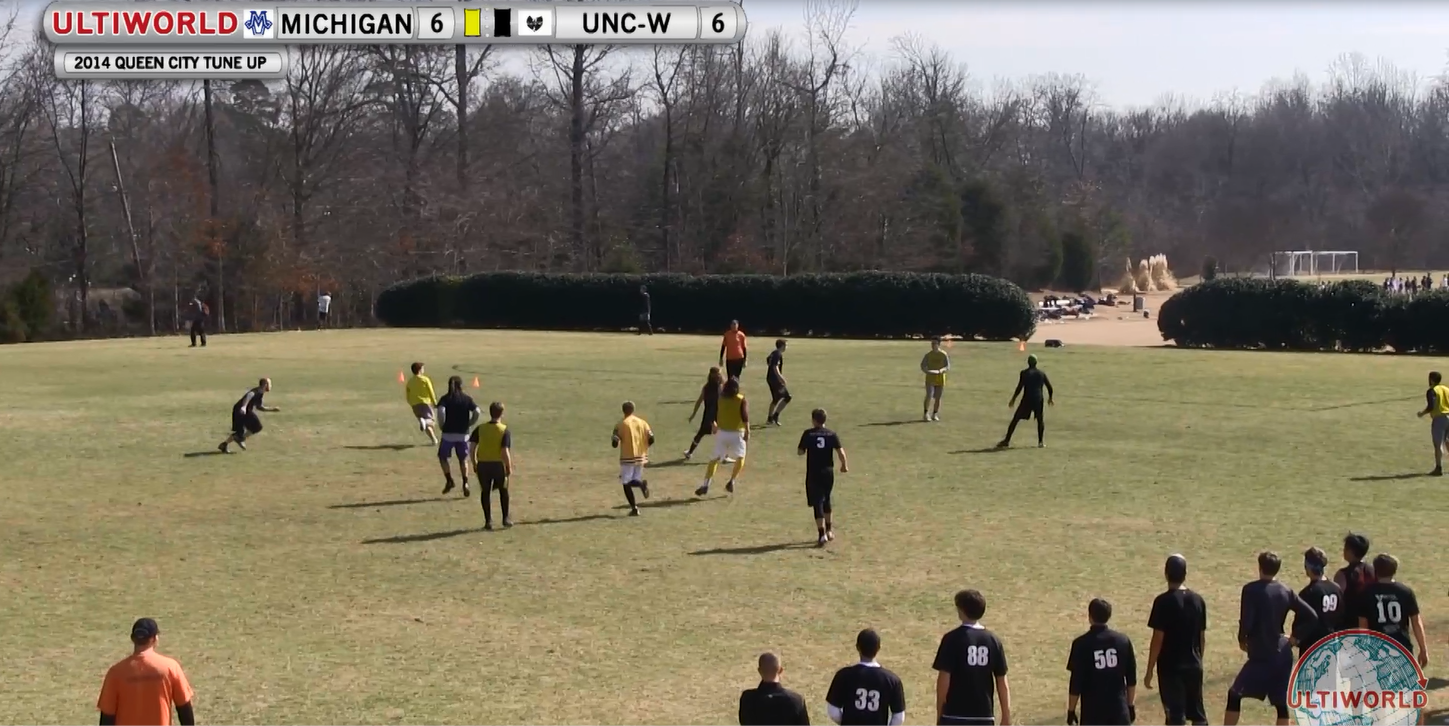
UNC Wilmington and junk defense may be as synonymous as they come in the college game, with Wilmington’s notoriously difficult conditions at Easterns providing a springboard for effective zone looks there. Ironically, it was Stanford Invite this season (not Easterns) that provided the most challenging weather, but there were still plenty of clips of the Seamen running junk from Queen City Tune Up.
1. Basic Formation (Wilmington In Black)
2. Positioning Overview
- Two chasers, diamond in the middle of the field, and a deep
- Chasers generally force middle, funneling the disc towards the diamond-front. When the disc is on the sideline, the force is a trap
- The diamond-front is an extremely reactive role aiming to play man-to-man on players attacking the middle of the field
- Deep covers the long threat
- Diamond-back looks to get blocks on overheads (see clip below). Responsible for filling the middle of the field when the deep is pulled deep
3. How (and Why) It Works
The diamond is very dynamic; they effectively play man defense within areas close to their nominated position. This is not a formation zone; rather, it flexes in response to the positions of the offensive players. In short, it is more of a method of playing man defense while being able to clog lanes and save energy than a traditional zone. Wilmington’s dynamic area-marking system restricts space like a zone while keeping throwing windows tight like man-to-man defense. By forcing the other team’s offense out of their preferred playing style into a zone offense designed to tackle more traditional zones, but one unsuitable for tackling this new defense, Wilmington takes the initiative away from their opponent who must now rely on guile and excellent throws to move the disc.
The sideline trap has a mark parallel to the sideline and one of the diamond wings directly in front of the disc.
The other chaser marks the dump. Michigan is successful in overloading the defense by having multiple threats in the area near the disc. Wilmington transitions directly to man after the trap is beaten. In the clips below, we see the reaction to this overloading, as the defense tightens up on the trap to prevent the disc moving to poppers.
https://www.youtube.com/watch?v=wJbgqG_C2Gk
As an aside, notice below how the front-diamond and back-diamond switch positions, perhaps to maintain fresh legs in the front-diamond role. This is a clever adaptation that prevents over working one defender in an extremely difficult role.
https://www.youtube.com/watch?v=INBJAVRqkKA
4. How to Beat It
It’s not until 6-6 that Michigan beat the zone without turning over, and they do some with a number of excellent throws to the cup to moving targets. Dynamic movement downfield is important, and the cuts must be large enough for them to drag the defense around and create holes for the other players to exploit. Only then can the disc move easily; see clearing handler cut which opens a hole. Once beyond the majority of the defense, Michigan keep the stall low by hitting the first available pass, making for an easy goal.
https://www.youtube.com/watch?v=Uo6Xiyb-N3U
A similar story at, when the swing handler busts across field, dragging his defender to create a hole wide, which allows Michigan the yard-gaining swing. Equally, these big cuts force the defense to switch often, helping to introduce confusion.
https://www.youtube.com/watch?v=hJ84oaYZXts
In the second half, we see Michigan throw a different approach to zone O; this time, they keep all of their poppers a long way away and rely on 2-on-2 handler movement to work the disc. The idea is strong and the spacing is good, but the execution lets them down. A similar strategy is to overwork the chases: There are two players whose responsibility is to apply a mark. Playing with three handlers and swinging quickly forces these handler marks to run a lot.
The definite weakness of this zone is a lack of pressure on the resets. Given enough patience, any team can score. This makes the Wilmington zone brutally effective when they are winning, but a real hindrance when they are behind as it may result in a shorter game, giving them less opportunity to come back.
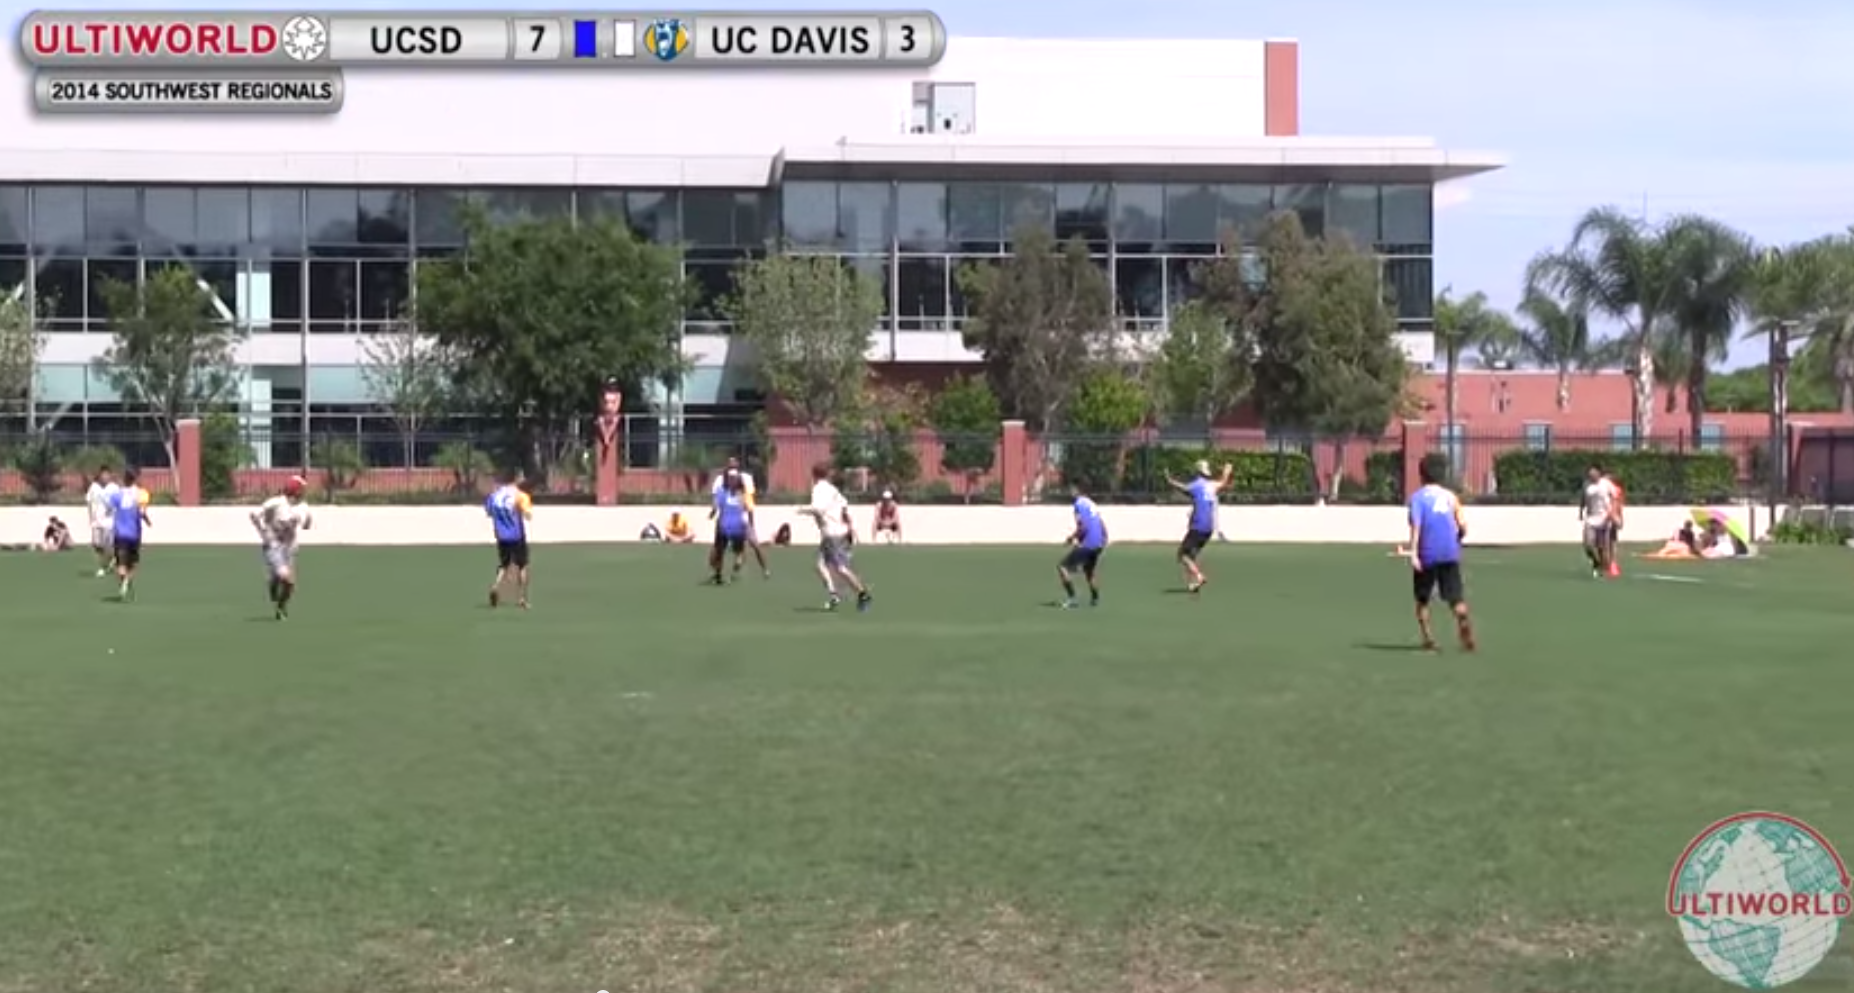
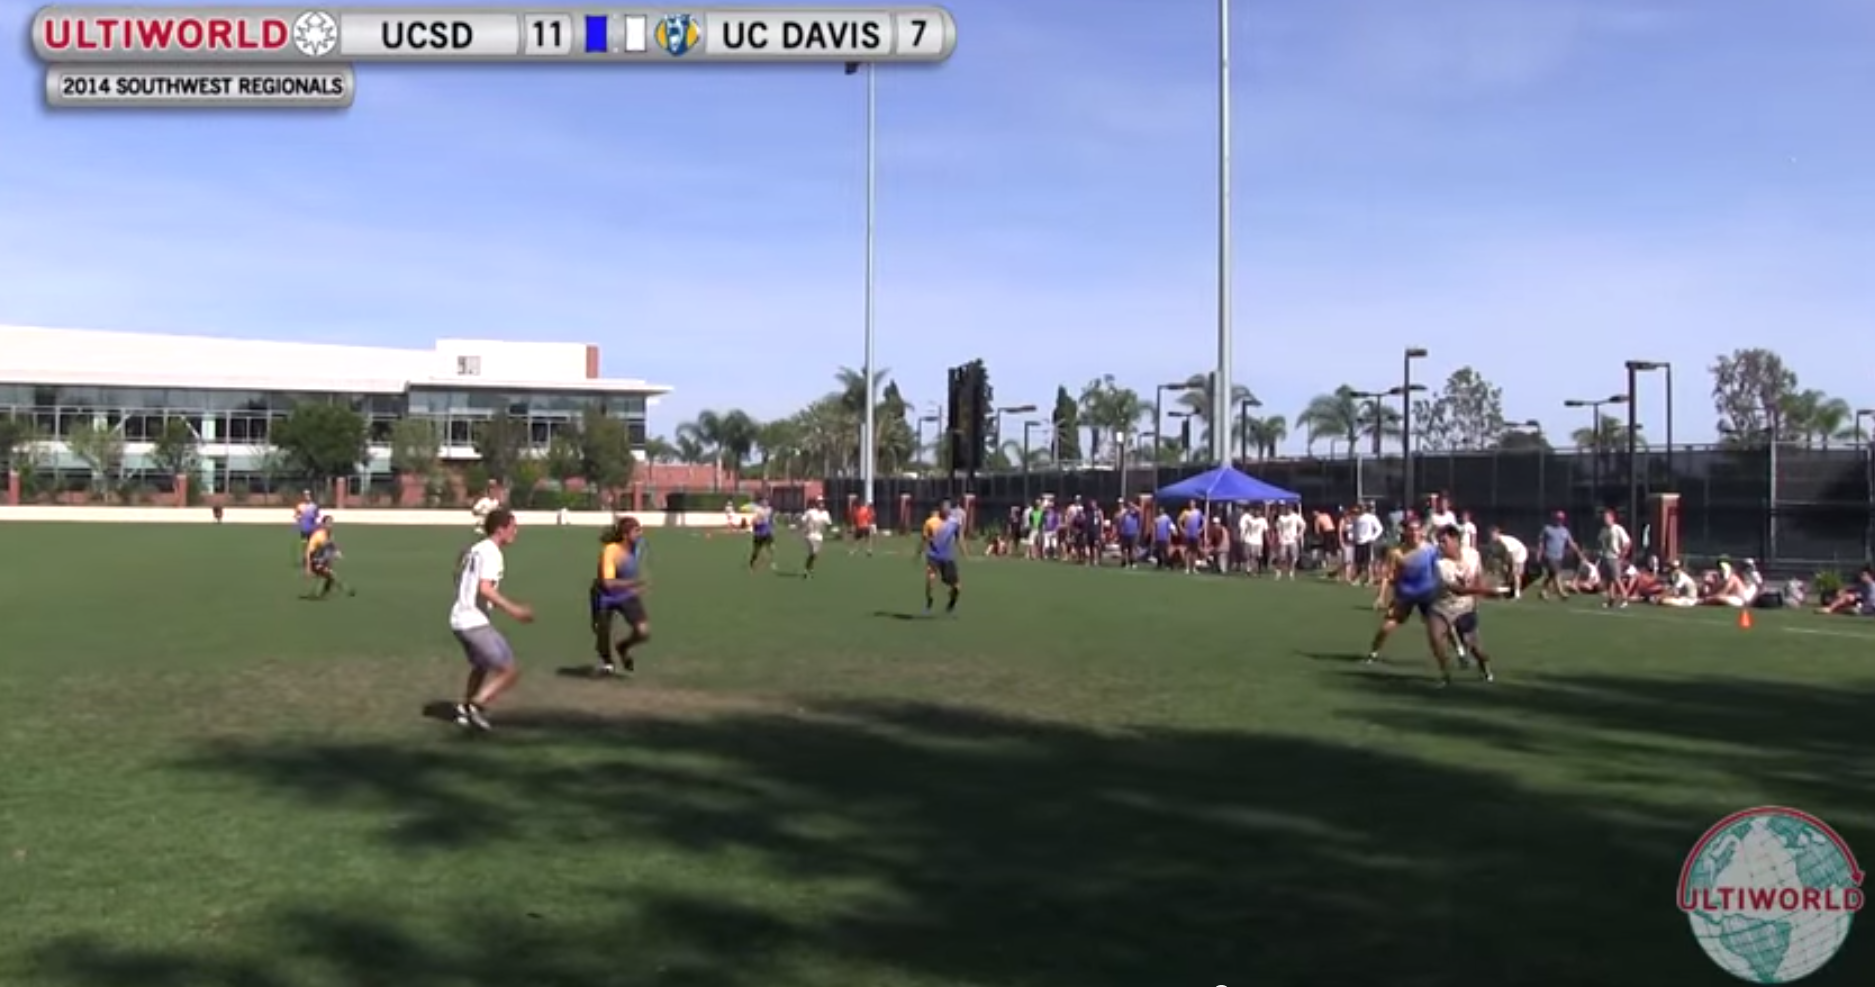
IV. UCSD Lane-Clogging (3-2-2)
1. Basic Formation (UCSD In Blue)
2. Positioning Overview
- Three handler defenders work together to take away as many hucking options as possible
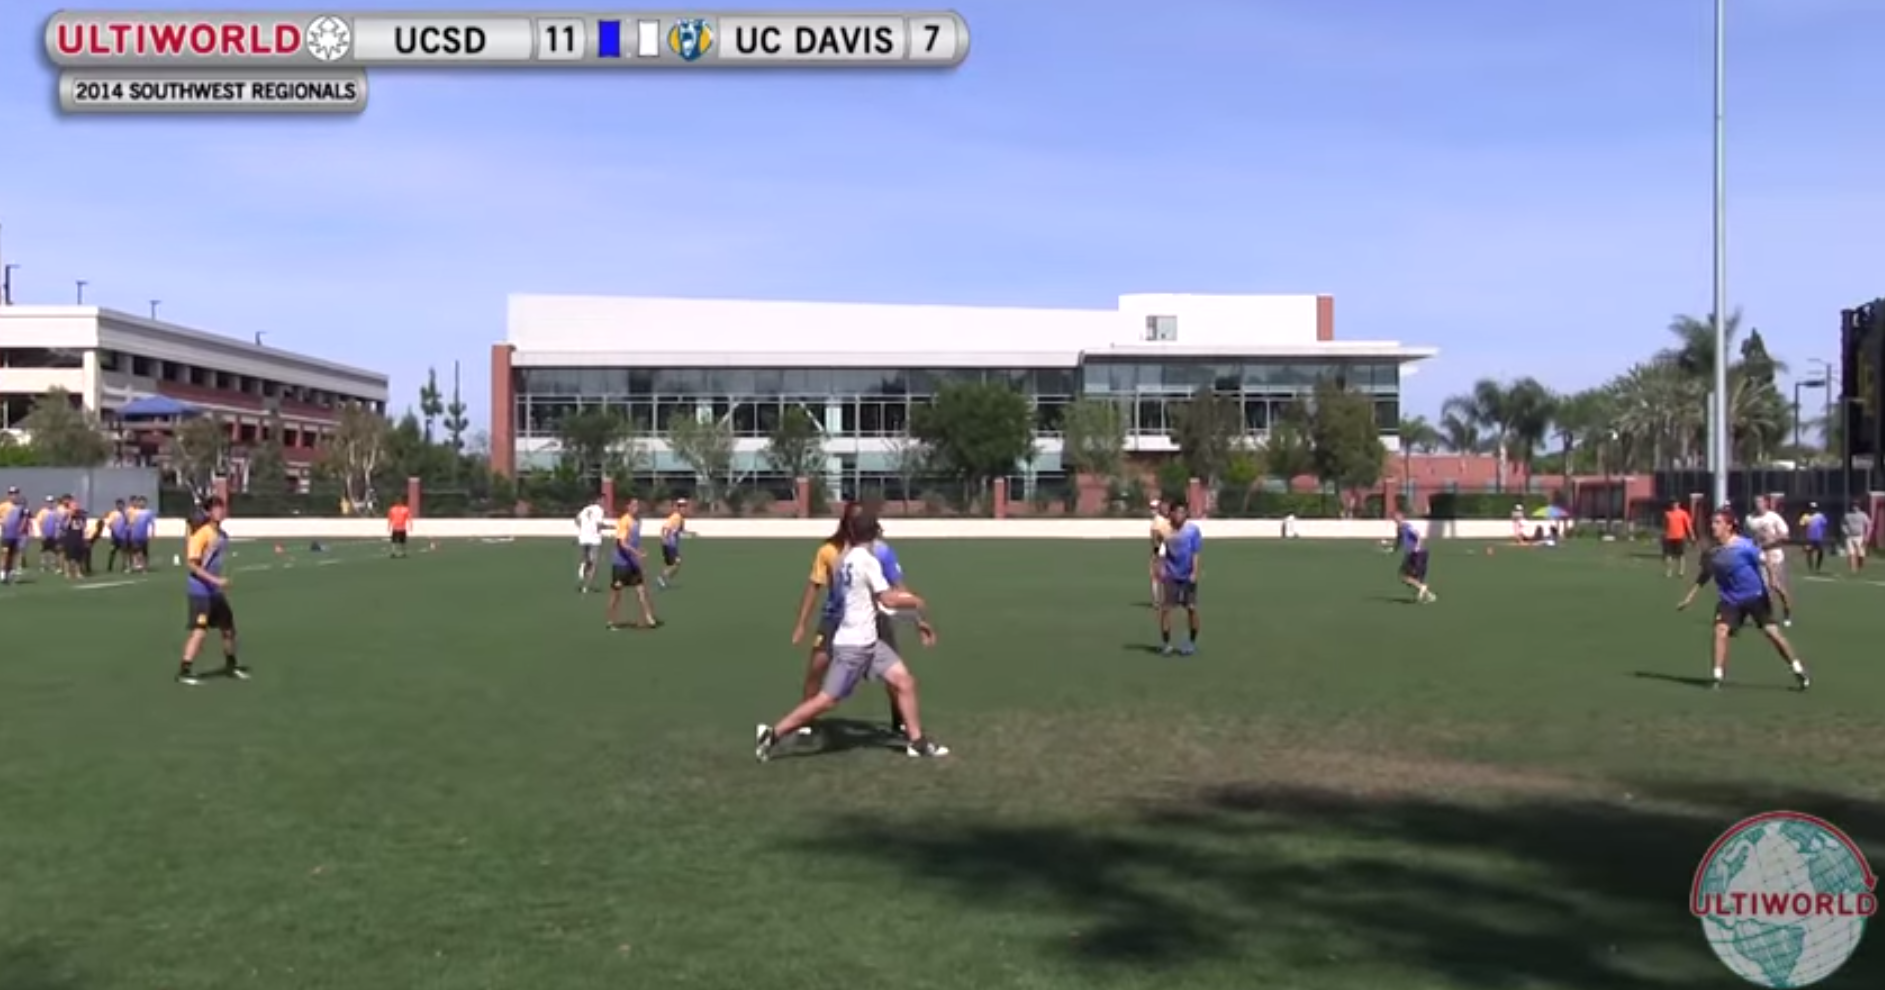
- On the sidelines, the handler defenders force middle with lane poaches, and near the center of the field, they apply straight-up marks with lane poaches. See images below:
- As these handler defenders’ poaches can’t cover the width of all throwing lanes, UCSD brings two downfield cutter defenders (in the gaps between the mark and the handler defenders) to help poach the throwing lanes and front cutters that enter their halves of the field (within 10 to 25 yards of the thrower)
- These lane/poach defenders might even turn their backs to throwers, trusting the handler poaches and scanning to identify the nearest downfield threat in their areas
- Two more defenders split deep coverage in half. Think football safeties playing cover two.
3. How (and Why) It Works
The focus, from the mark to the downfield cutting defenders, is on clogging traditional throwing lanes. Rather than try to force the disc to a particular sideline, this zone is structured to prevent any meaningful upfield gains from traditional flick or backhand throws.
If positioned properly with the disc in the middle of the field, these zone defenders take away every initial underneath cutting option against a traditional horizontal stack. In turn, opponents are usually forced to settle for lateral movement that gains little to no yardage. This zone, like many, tests patience and only leaves over-the-top windows, in the deeper 20+ yard (from the disc) space.
UC Davis committed just one turnover in the more than ten zone defense points that UCSD played during the 2014 SW Regional Championship. Most of Davis’ struggles came from dumps off the sideline after UCSD had transitioned to man defense with aggressive, no-around marks. What’s more, that lone Davis turnover was not a forced throw that sailed out of bounds or got blocked by a zone defender—it was a simple, open reset thrown to the wrong location due to miscommunication.
Oddly enough, teams should be mindful of the challenges inherent in moving the disc off the sideline against UCSD’s man and transition sideline traps. UCSD keyed in on Davis’ sideline dump discomfort frequently by smartly transitioning to man defense with no-dump marks immediately after cutters caught discs on sidelines.
4. How to Beat It
Handlers and cutters need to work in tandem to slash and pop for incremental gains in the middle of the field (slashes and pops will be more easily defended with discs on sidelines, especially against middle forces).
Handlers are often the most effective counter here, as strike (upline) cuts will enable them to catch discs with their momentum going forward and their eyes immediately surveying downfield poppers or continuations.
Poppers can also be effective in sneaking below the fronting (poaching) defenders, but it will take longer for them to turn and identify the most advantageous continuations — that’s why the handler upline cut is so effective. Cutters can help by flooding specific sides and forcing that middle tier of defenders to decide who to make decisions about who to guard and who to leave open — decisions that can lead to miscommunications and blown assignments.
Another strategy that can stand alone or mix with the above is simple, traditional swinging to tire out the zone. As offensive handlers swing the disc from sideline to sideline, the lane poaches will struggle to constantly clog their lanes, and gaps will open up for continuations. It may even be possible to gain yardage Again, against this zone, it’s important for continuation receivers to move the disc back off the sideline as quickly as possible—UCSD excels at creating chaos in those moments by transitioning and trapping less experienced cutters.
V. Conclusion
Zone and junk defenses have become increasingly common — and increasingly complex. Many junks use some combination of the elements in the zones listed above and, depending on personnel, strategies for beating them can vary widely.
With this overview, though, you can see a wide range of common zone looks, from the more traditional cup of Pittsburgh to the “contain” 2-3-2 of Michigan to the lane poaching of UC San Diego. Nothing can prepare you to react to the zone or junk being thrown at you besides experience facing them, but this should serve as a starting point.
